Skip to content

New: design your insert yourself, in 2D and 3D, with live pricingDiscover the editor

Cases · Metrology

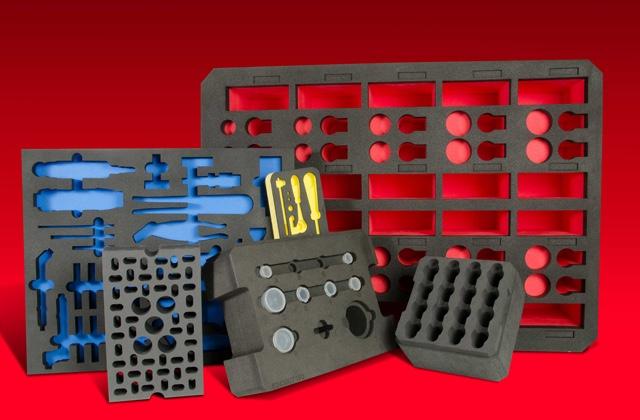
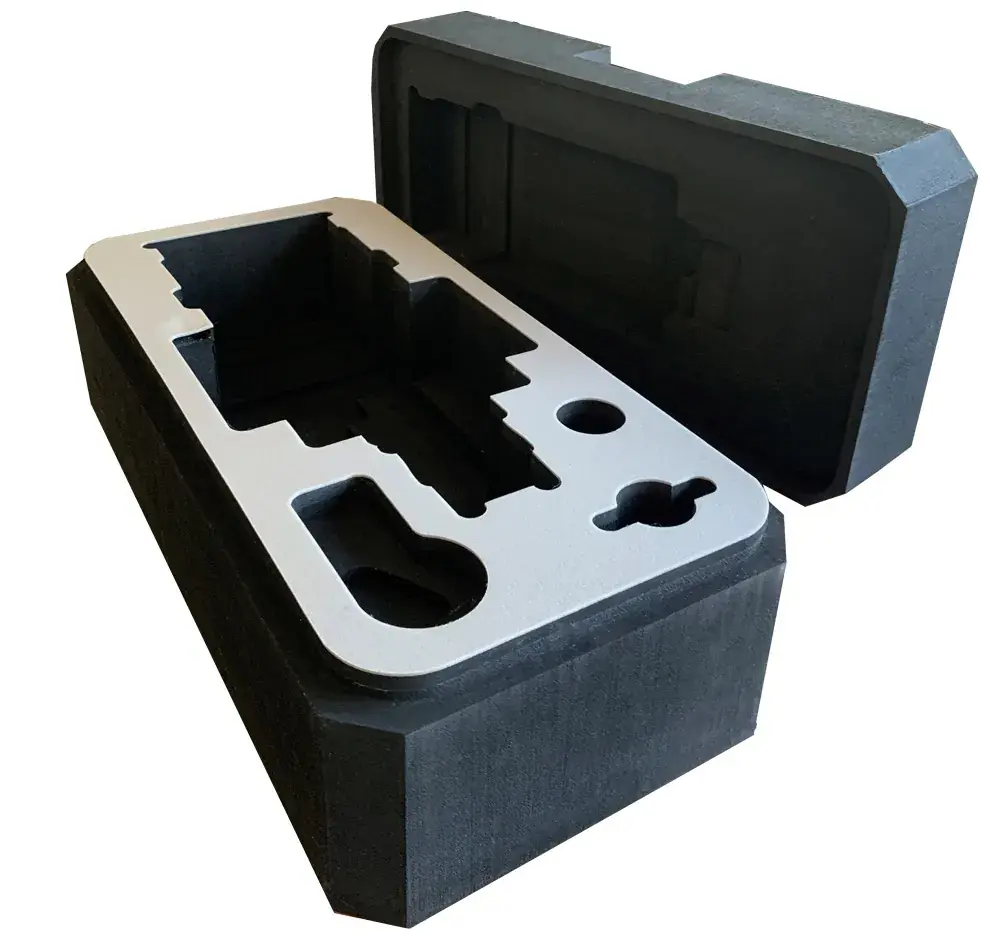
Custom foam inserts for Peli cases and technical cases

Measuring instruments, sensors, camera gear or power tools: every item has its own place, held still and protected during transport.

Uses

One place per instrument, nothing that moves.

Foam cut to the exact shape stops instruments knocking against each other and makes checking the contents instant when the case is opened.

  1. Metrology and instrumentation

    Callipers, micrometers, dial gauges, sensors and probes stay still and protected.

  2. Photo, video and drones

    Bodies, lenses, batteries and remote controls: a place for every item.

  3. Professional tools

    Power tools, bits, accessories: a case that always closes complete.

Understanding instrument protection

Protecting measuring instruments, explained simply.

Why a badly stored instrument loses its accuracy, what quality standards require, how to choose the case and the foam, and the mistakes to avoid.

Chapter 1

Why an instrument must be held in foam

A measuring instrument can lose its accuracy without the slightest outward sign. A knock on a calliper, a dropped micrometer, vibration while a dial gauge is being transported: the instrument looks intact, but it measures wrongly.

Dust, humidity and friction between instruments stored loose do the rest: scratched anvils, clogged slides, leaking batteries. The risk is not only replacing the instrument: every measurement made with it since its last check becomes questionable.
Chapter 2

What quality standards require

ISO 9001 requires measuring equipment to be safeguarded from damage and deterioration that would invalidate its results (§ 7.1.5). ISO 10012, dedicated to measurement management, details how to manage such equipment: identification, calibration, storage and handling conditions.

In practice, an auditor looks at how instruments are stored, transported and identified, and whether a missing or damaged instrument would be spotted.

Chapter 3

Choosing the case and the foam

  • The case: For field work, a dust- and water-tight case, such as Peli or Explorer Cases. What matters for the insert is its internal dimensions.
  • The foam: Cross-linked polyethylene foam: it does not crumble, does not hold moisture and keeps its shape. A higher density for heavy instruments.
  • The fit: The instrument must be held without being squeezed: a small, even clearance around its shape, so it does not move but comes out effortlessly.
  • Gripping: Notches to pick each instrument up by a sturdy part, never by the anvil or the jaws.
  • Tall items: Several layers of foam, and a lid foam that locks everything in place once the case is closed.

Chapter 4

Common mistakes

  • Pick-and-pluck foam: Handy at first, it tears over time and the instrument ends up moving.
  • Too much clearance: An instrument that shifts in its pocket wears and takes every knock.
  • No notch: The instrument is pulled out by its most fragile part.
  • Several instruments in one pocket: They rub against each other, and one missing goes unnoticed.

What you get

An insert designed for transport.

  • Known cases: Peli 1200 to 1610, Explorer Cases on request
  • Or the internal dimensions of your own case or box
  • Several layers for tall parts
  • Finger notches to pick up each part
  • Dimensioned drawings and quote within 2 working days, production in 5 working days after proof approval
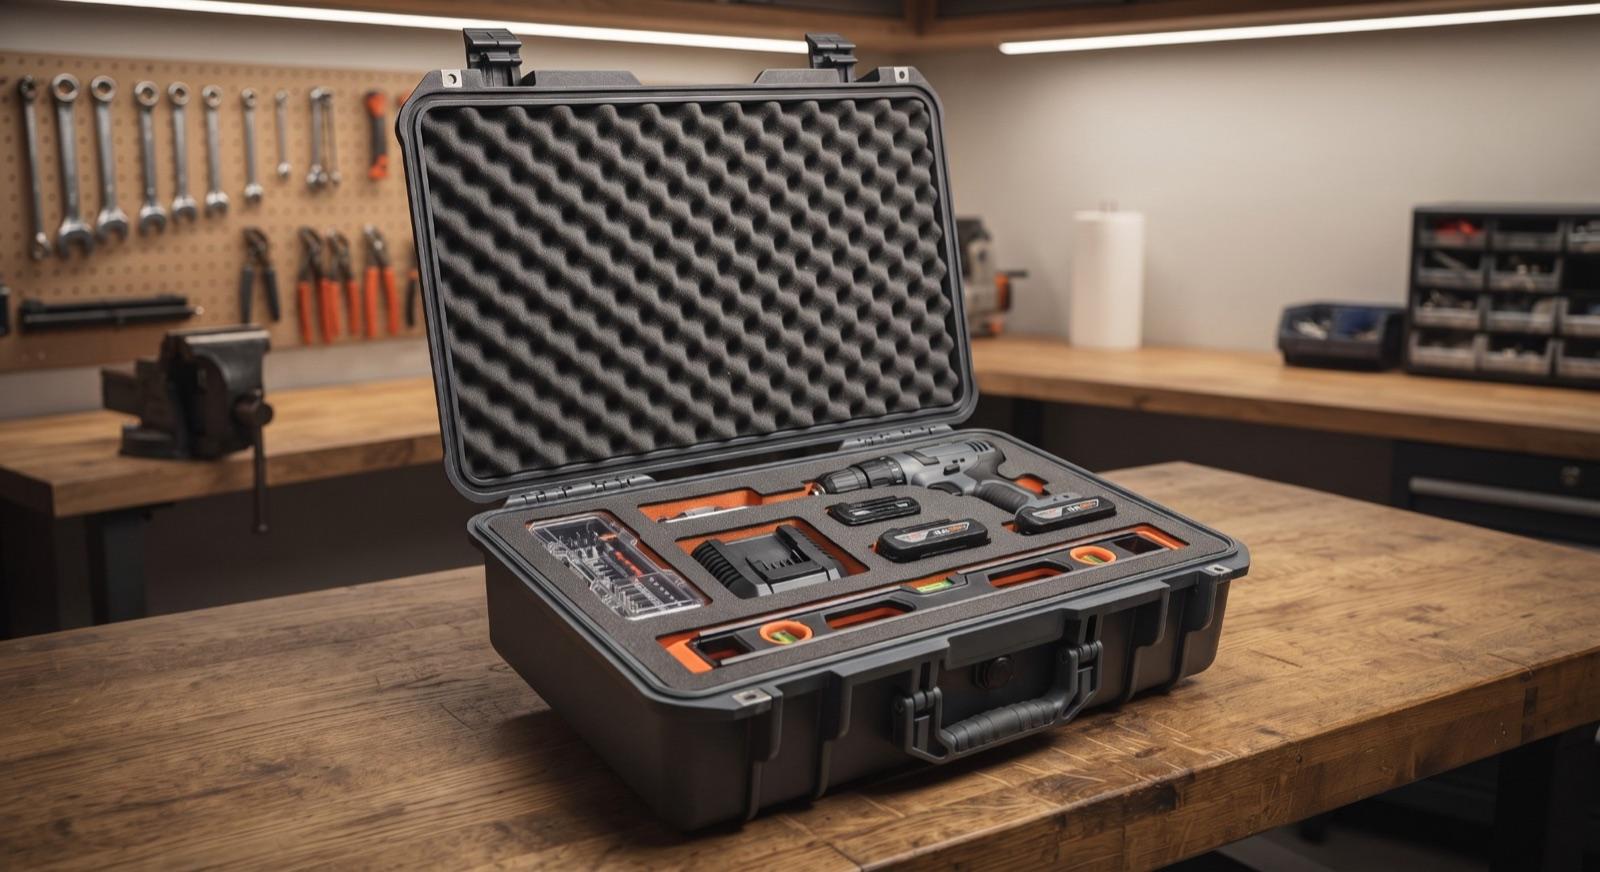
Waterproof case on a workbench: drill, batteries and bits held in grey foam with an orange base.
Illustration.

To get started

What we need.

The configurator asks for this information in order. You can save and come back later.

  1. 01The case model, or its internal dimensions
  2. 02The list of items to store
  3. 03Their 3D files, or a photo on the A4 template with their height

How it works

From your file to a fitted-out trolley, in five steps.

Nothing is made without your approval of the quote, then of the proof.

  1. Step 1 : Describe the project

    Stations, drawers or cases, then your parts: 3D file, photo on the A4 template or dimensions.

    online, no account

  2. Step 2 : Review and quote

    Every insert is checked. You receive dimensioned drawings and a quote in your customer area.

    2 working days

  3. Step 3 : Acceptance

    You accept the quote online: name, consent box, date and time.

    online

  4. Step 4 : Proof

    You approve the final drawing of each insert before machining.

    at your own pace

  5. Step 5 : Production and shipping

    Machining, inspection, tracked shipping.

    5 working days

Frequently asked questions

Your questions.

Do you supply the case?

We make the insert for your case, drawer or box. If you do not have a case yet, choose a Peli model in the configurator: we know their internal dimensions.

How accurate are the inserts?

Pockets are machined to ±1 mm and the outside of the insert to ±2 mm. A 1.5 mm clearance around each part lets you put it in and take it out without forcing. You check every dimension on the drawing before production.

How do I take the right photo?

Print the A4 template at 100%, lay your parts flat without covering the corner marks, then take the photo straight from above with all four corners visible. Give the height of the thickest parts.

Are my files kept confidential?

They are only used for your project, stored in the European Union and never published or shared.

Other solutions

The same workshop, other uses.

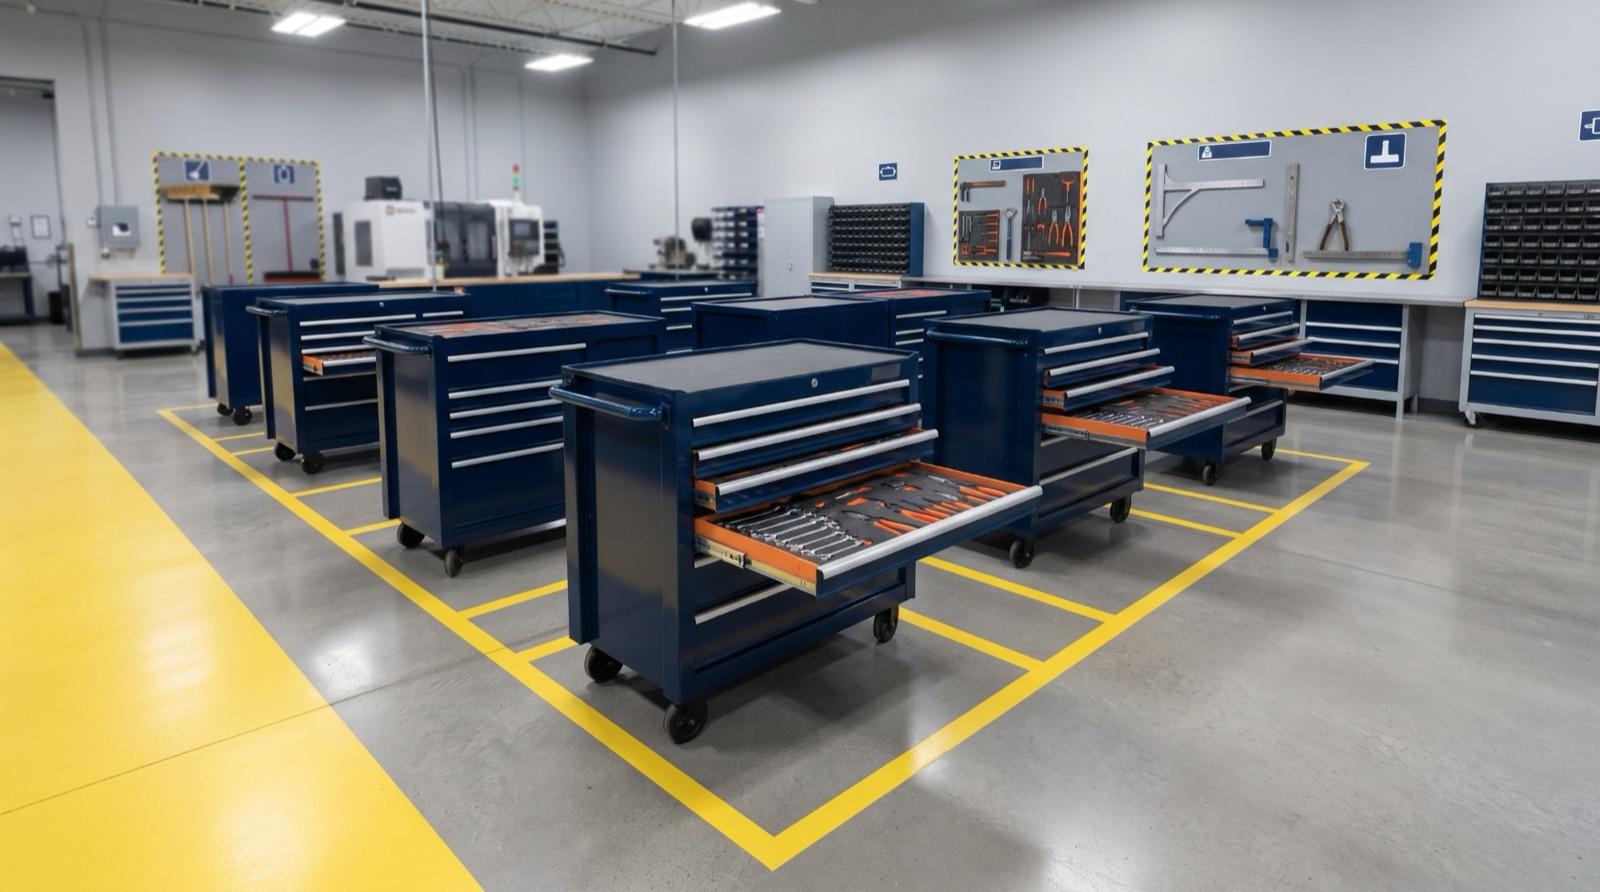
  • 5S · Workshop tool trolleys

    5S and tool trolleys

    • One insert per drawer, two-colour base by default
    • The name of each tool engraved next to its pocket
    • One drawer reproduced in all identical trolleys
  • SMED · Changeovers

    SMED

    • Tools and parts in order of use
    • Step number engraved next to each pocket
    • Colour code per format or per machine
  • Packaging · Machined parts

    Protective packaging

    • Pocket calculated from your STEP or STL
    • Standard dimensioned drawing of each insert before production
    • From prototype to series, drawings kept for repeat orders

Describe your first station. The rest follows.

Start without an account: your project is saved as a draft at every step.

  • Standard dimensioned drawings for every insert
  • Quote reviewed by hand, never sent automatically
  • Nothing is machined without your approved proof

Sign up for our newsletter

News, technical guides and workshop insights, at most once a month.