Resource ·
How an insert is machined
From the dimensioned drawing to the cut foam: step-down milling, notches, assembling the layers and inspection.
From drawing to machine
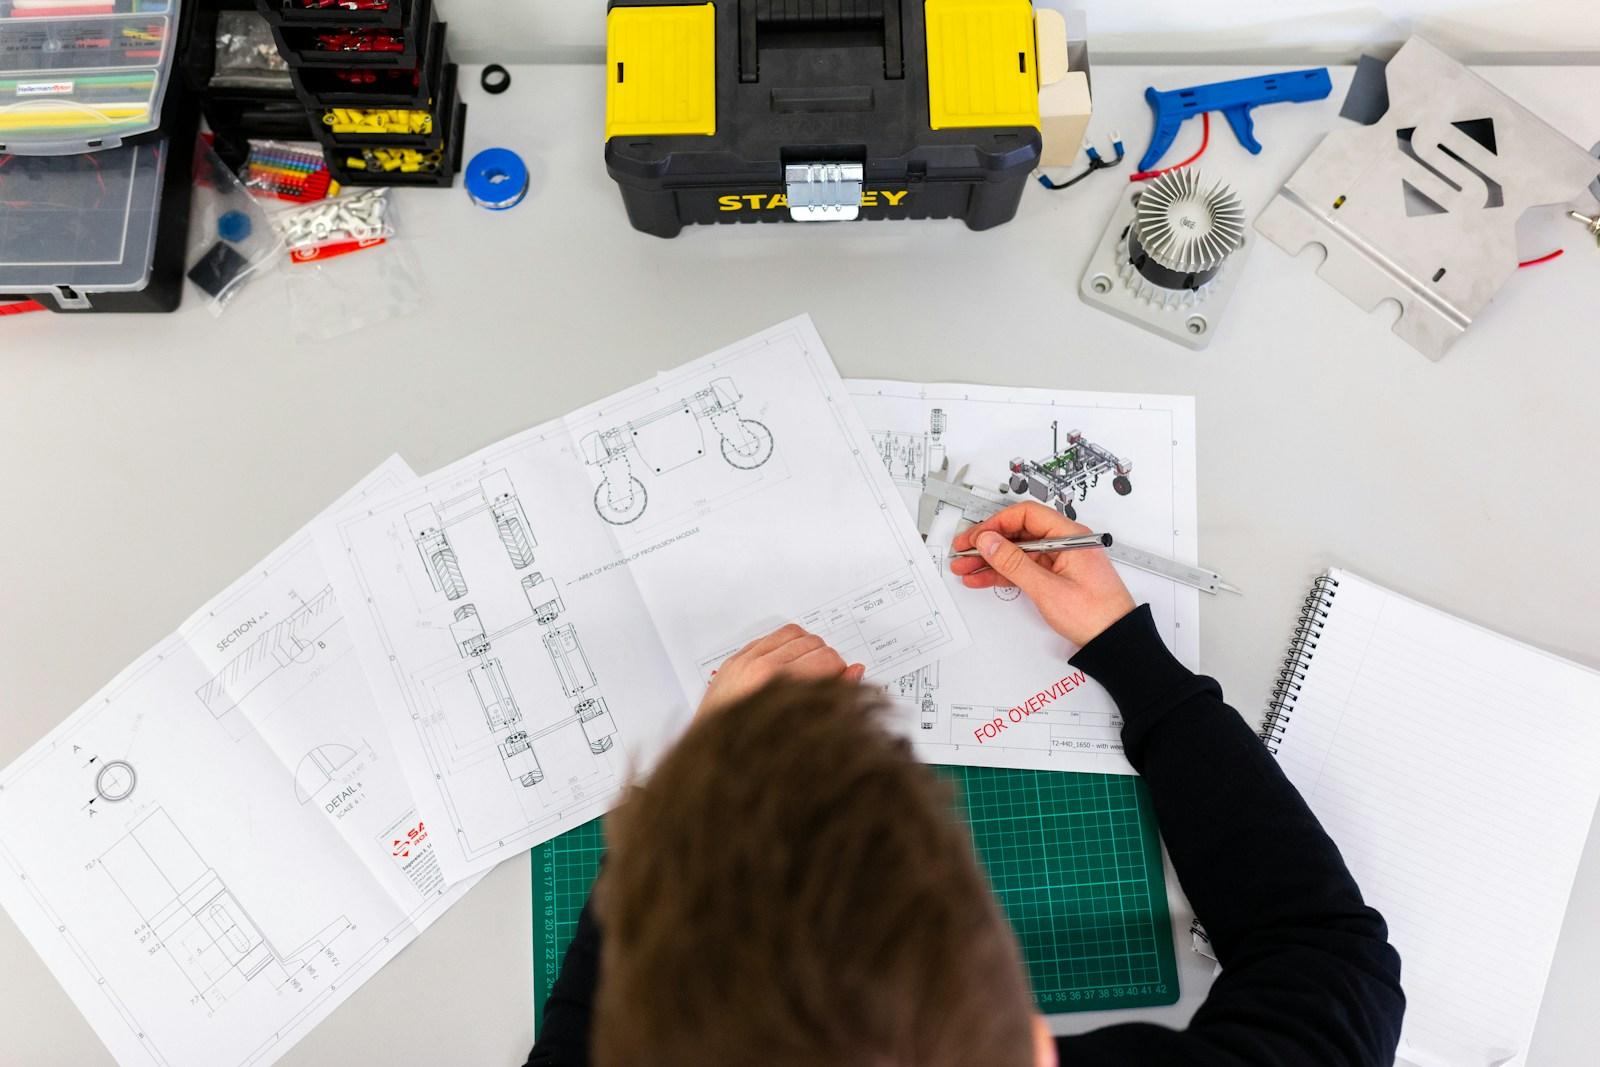
Every insert starts from the dimensioned drawing you approved (the proof). From it we produce the CNC milling program: the outer contour, each pocket with its depth, the notches and the engraving.
Milling in steps
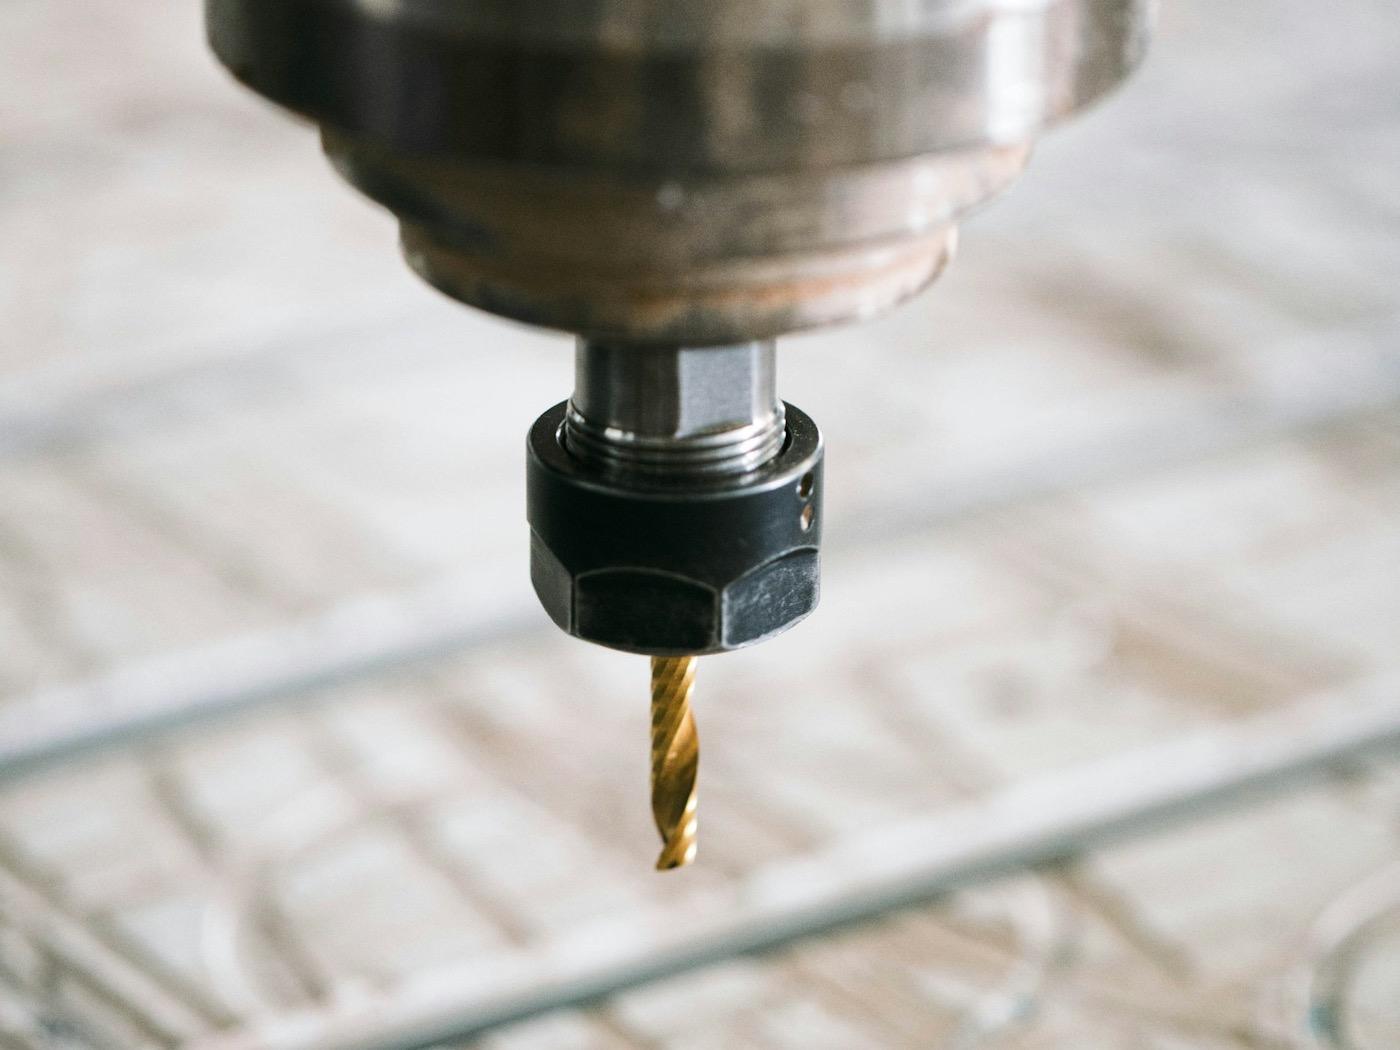
Foam is not cut like metal: too deep a pass tears it instead of cutting it. The cutter therefore goes down in successive steps to the bottom of each pocket, then a finishing pass follows the contour for clean edges.
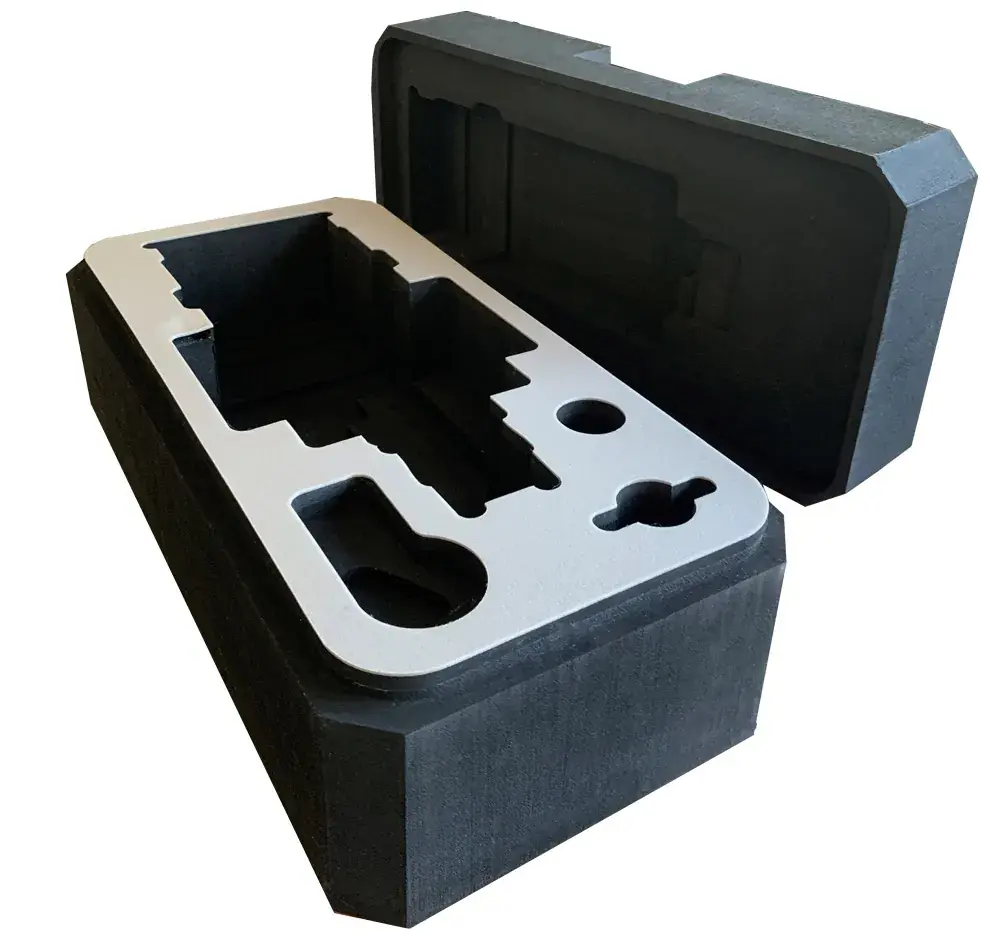
For a complex part, the pocket follows its real volume: it is deeper where the part is thicker, to hold it over its full height.
Notches, layers and engraving
- Finger notches are cut next to each part, so it can be picked up with the fingertips.
- Foam sheets (5, 10, 30 or 50 mm) are assembled to reach the thickness of the insert; the coloured layer goes at the bottom.
- Engraving (tool name, step number, reference) is done on the surface, next to the pocket.
Inspection before shipping
Each insert is checked against its drawing: outer dimensions, position and depth of the pockets. It is then shipped with tracking, within 5 working days of the proof, or can be collected from the workshop by appointment.