Resource ·
Preparing your parts: 3D file, photo or dimensions
Which file to send, how to photograph a part on the A4 template, and when simple dimensions are enough.
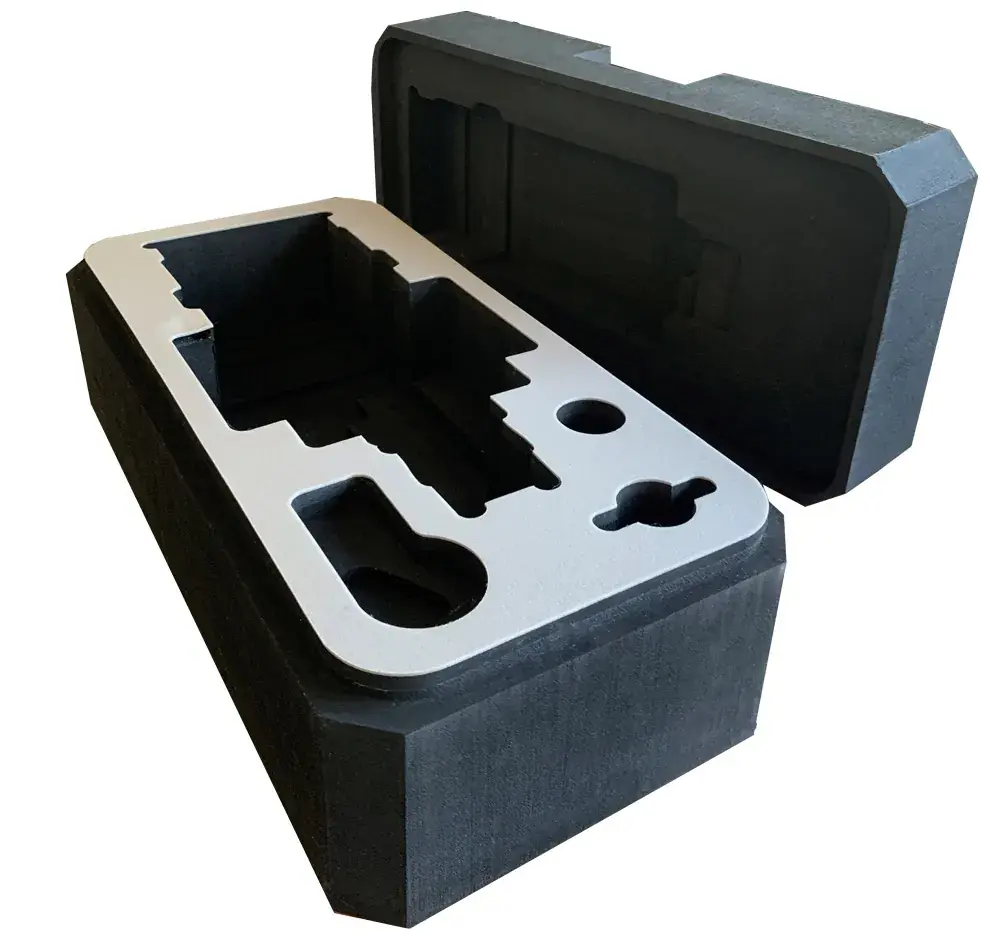
The more precise the shape of the part, the better the pocket holds it. There are three ways to describe it to us, from the most precise to the simplest.
1. The 3D file (STEP or STL)
This is the best option if the part was designed in CAD. STEP is preferable: it describes the exact shape, whereas STL approximates it with triangles.
- Export in millimetres.
- One part per file, ideally in the position it will be stored in (the editor also lets you rotate it).
- For an STL, choose a fine resolution: rounded edges stay round in the foam.
2. The outline: DXF or photo on the A4 template
For an off-the-shelf tool or a flat part, the outline seen from above is enough. If you have a DXF, send it. Otherwise, print our A4 template at 100%, lay the part on it and take a photo.
- Phone held flat, directly above the part, with no perspective.
- All the template marks visible in the photo.
- Even lighting, without strong shadows: daylight, near a window.
- Then enter the thickness of the part in the editor.
3. Dimensions
For a simple shape (box, cylinder, slot), length, width and height are enough: add a shape in the editor and enter its dimensions.
Whatever the method, we review every pocket before quoting. We aim for ±1 mm on pockets and ±2 mm on the outside of the insert, with a default clearance of 1.5 mm around each part.